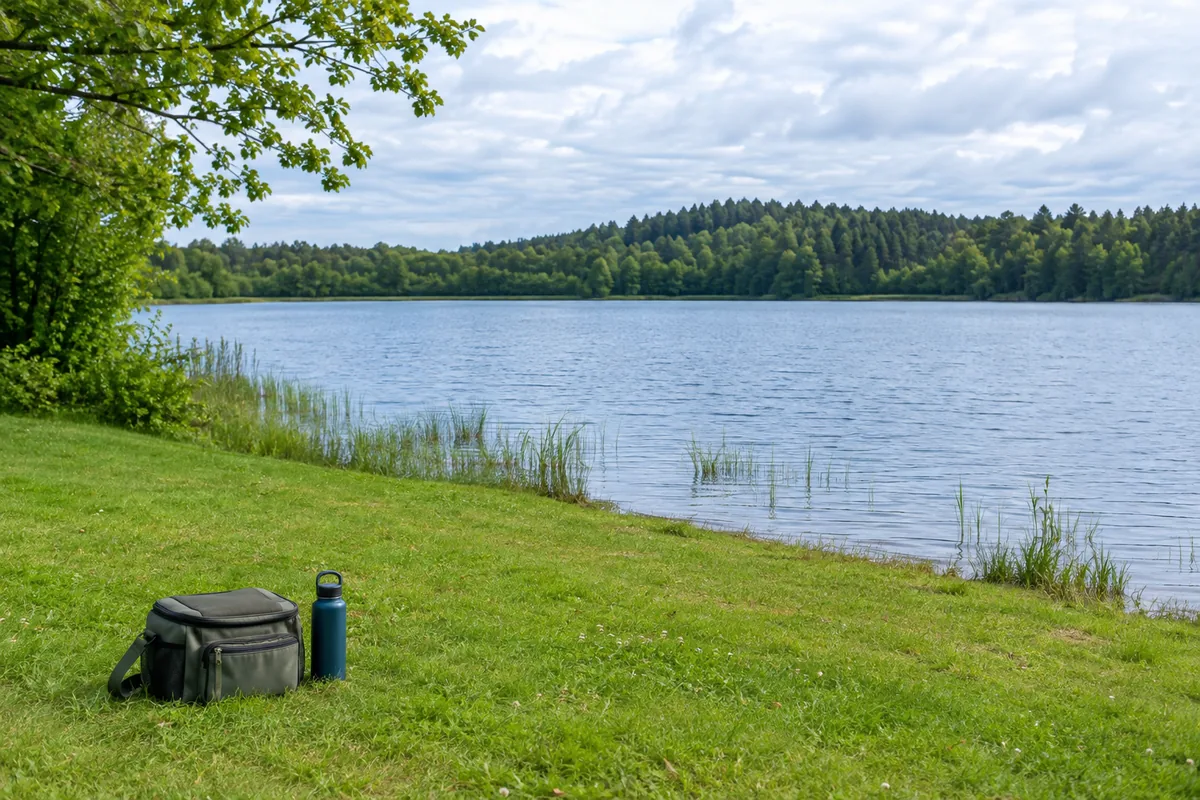
A blue patch on a map is a body of water, not permission to fish. Finding a useful first spot requires three separate answers: whether fishing is allowed, where you may enter and stand, and whether that access suits your equipment and abilities.
Start with a small shortlist close enough that you can visit without turning the outing into a major expedition. Your goal is a dependable place to learn, not a secret location.
Start with the state fish and wildlife agency
Search the official agency website for its fishing-access map, public fishing areas, or community fishing program. Agency names differ between states. Use the department’s own website to reach its map rather than assuming the first commercial result is authoritative.
Tools vary. Wisconsin’s Fishing Finder includes shore-fishing and public-access information. Indiana’s map includes access sites and other planning layers, while explicitly cautioning that access locations are approximate and should be checked. These examples show what to look for in your state; they do not establish access elsewhere.
Filter for bank fishing, a pier, or another access type you can actually use. A boat ramp marker is not a promise that you can fish safely from the ramp or adjacent property.
Verify the exact entry and land manager
For each candidate, open the park, refuge, city, county, or other land-manager page. Match the water’s name and address carefully, since names can repeat.
Check parking, hours, closures, entrance fees, gate times, and any fishing-area restrictions. Confirm the route from parking to the bank. If a route crosses private property, find the applicable permission or easement details instead of assuming a visible path is public.
Do not infer fishing permission from a “public land” label alone. A property can allow walking while closing a pond to fishing, or allow fishing only within marked boundaries.
Compare practical access, not only fish reports
| Question | Why it matters on a first trip |
|---|---|
| Is there stable, designated bank space? | You need somewhere to stand and manage tackle |
| Is casting clearance shown or described? | Trees, paths, and crowds affect the method you can use |
| Is there a practical landing position? | Catching a fish should not require climbing down a wall |
| What accessibility information is provided? | A short path is not necessarily a usable path for every visitor |
| Is safe shelter reachable? | A weather exit plan is part of choosing the spot |
Photographs and satellite views can help you ask better questions, but may be old or taken at a different water level. Call the land manager when essential information is missing.
Check fishing rules separately
Once access is confirmed, use the current regulations for the exact water and likely species. Look for special tackle, bait, season, and harvest requirements. Check licensing and any separate access or species permits using the license checklist.
A stocking report can suggest a fishing opportunity; it does not override closures, establish public access, or guarantee fish are still present. Likewise, a report that someone caught fish there last week does not establish today’s safe conditions.
Make a small location note
Save the official location link, parking point, opening hours, applicable rule page, and a backup destination. Keep these notes available without depending entirely on a phone signal. Tell someone your plan and expected return time.
On arrival, read signs and reassess the bank. Leave if access is closed, conditions are unsafe, or permission remains uncertain. Do not argue that an online map pin authorizes entry.
Use bank-fishing essentials to pack for the verified location, and check the weather-safety guide before leaving. A reliable, manageable spot is an asset you can return to as your skills grow.
Sources and further reading
- Wisconsin DNR: Wisconsin Fishing Finder — example official fishing and shore-access planning tool.
- Indiana DNR: Where to Fish Interactive Map — access layers and the caution to verify approximate access locations.